In Part 1 of this series we installed IIS.
In Part 2 we installed and configured WebDAV.
In Part 3 we installed BITS and Remote Differential Compression.
In Part 4 we created a ConfigMgr administrator group and installed and configured SQL Server 2008.
In Part 5 we extended the Active Directory schema and created/configured the System Management container.
In Part 6 we installed Report Viewer 2008.
In Part 7 we installed WSUS Server with Admin Console.
In Part 8 we installed ConfigMgr 2007 Service Pack 1.
Now we will update ConfigMgr 2007 Service Pack 1 to ConfigMgr 2007 R3.
Install Configuration Manager 2007 R2
- Log into the ConfigMgr server using the sccmadmin user name.
- Insert the ConfigMgr 2007 R2 DVD into the DVD ROM drive.
- Go to Start and click Computer. In the Computer window, double-click on your DVD ROM drive to open the Autorun menu.
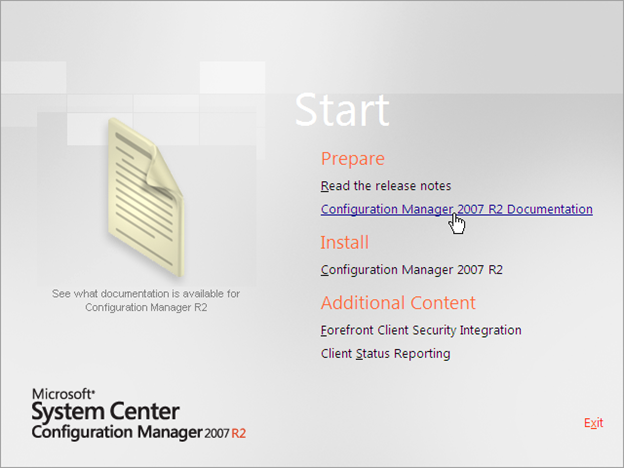
- On the Autorun menu under Install, click on Configuration Manager 2007 R2.
-
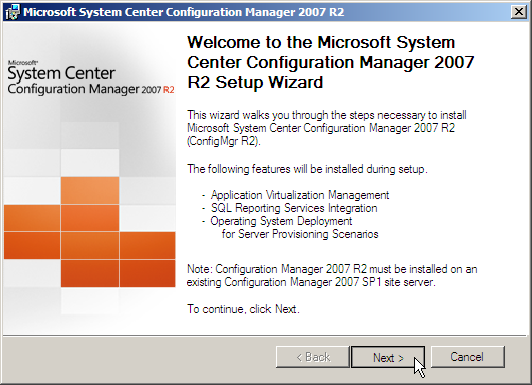
At the welcome page click Next.
-
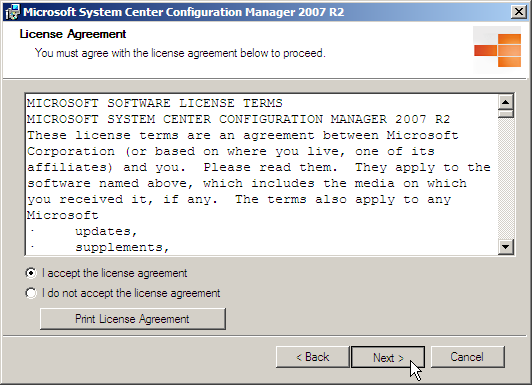
On the License Agreement page, select I accept the license agreement if you accept the terms, and then click Next.
-
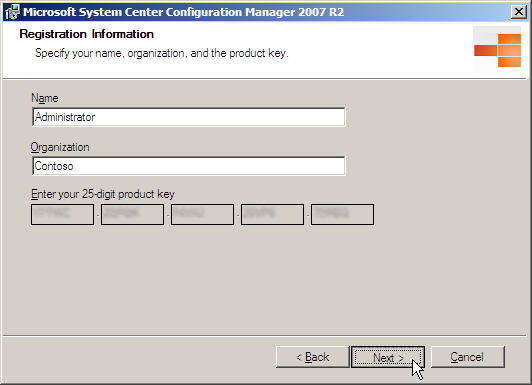
On the Registration Information page, enter the registrants name, organization, and product key, and then click Next.
-
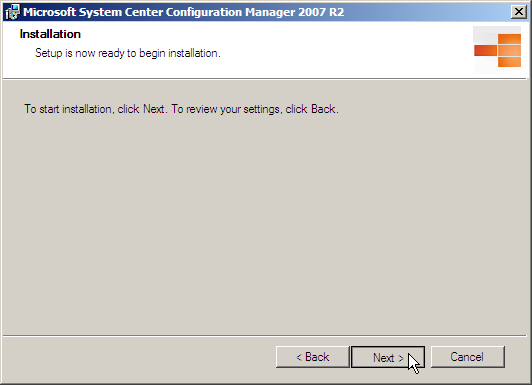
On the Installation page, click Next to begin the installation.
-
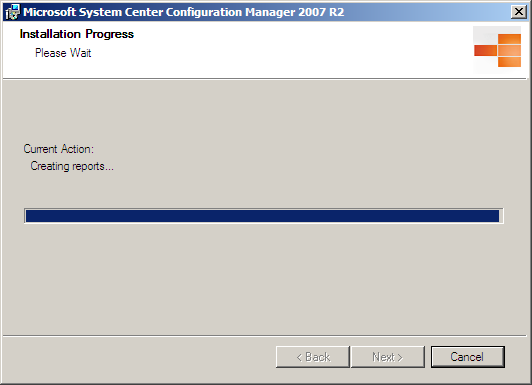
Wait for the installation process to complete.
-
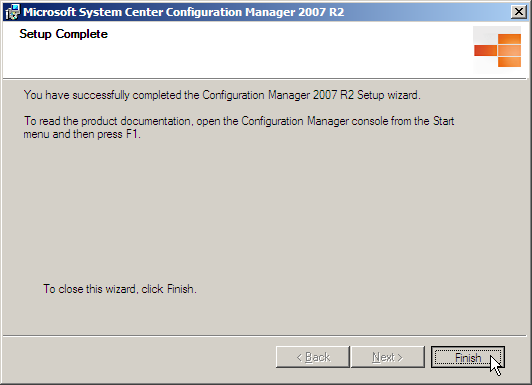
On the Setup Complete page, click Finish.
Install Configuration Manager 2007 SP2
-
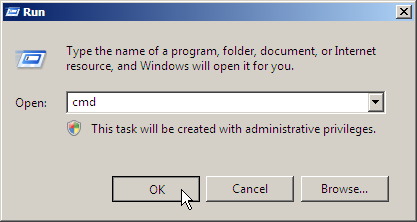
Click on Start then click Run, type cmd into the Run dialog box, and then click OK.
- In the command prompt window, type del H:\SCCMDownloads\* and press Enter.
NOTE: Replace H: with the correct drive letter. - Type Y in the command prompt window, and then press Enter.
- Type Exit in the command prompt window, and then press Enter.
- Insert the ConfigMgr 2007 SP2 DVD into the DVD ROM drive.
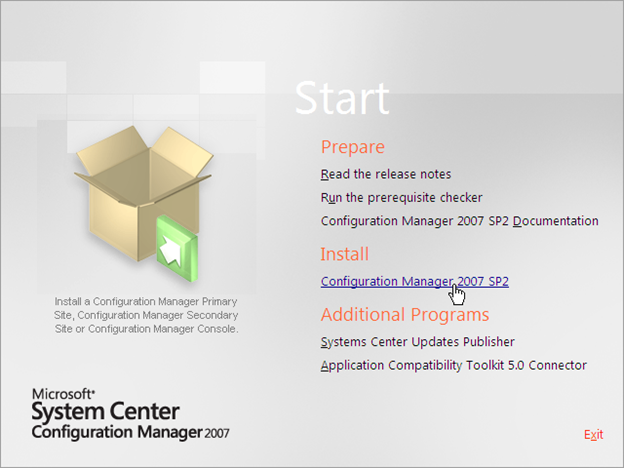
NOTE: The installation files can be downloaded from the Microsoft Download Center. - Go to Start and click Computer. In the Computer window, double-click on your DVD ROM drive to open the Autorun menu.
- On the Autorun menu, click Configuration Manager 2007 SP2.
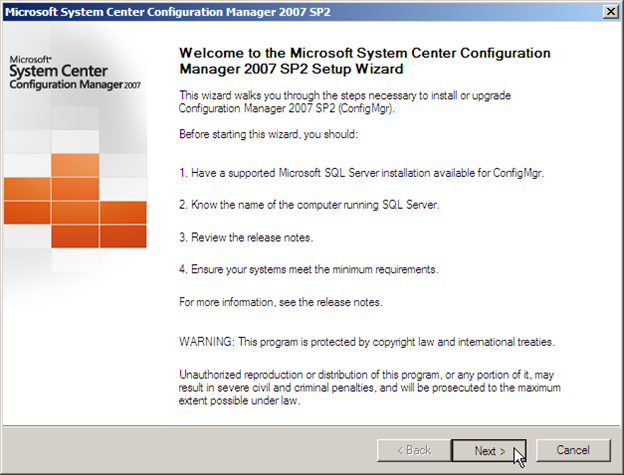
- Click Next at the welcome page.
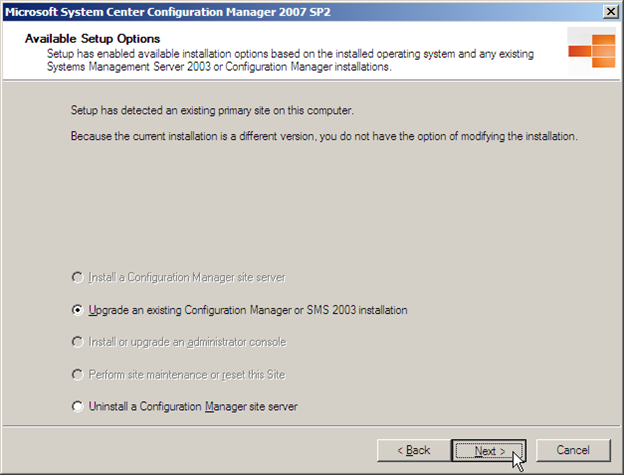
- On the Available Setup Options page, select Upgrade an existing Configuration Manager or SMS 2003 Installation, and then click Next.
- On the Microsoft Software License Terms page, if you accept the terms, select I accept these license terms, and then click Next.

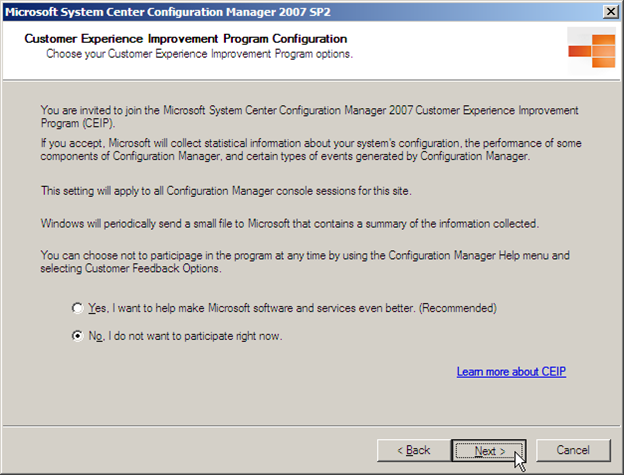
- On the Customer Experience Improvement Program Configuration page, choose if you want to participate, and then click Next.
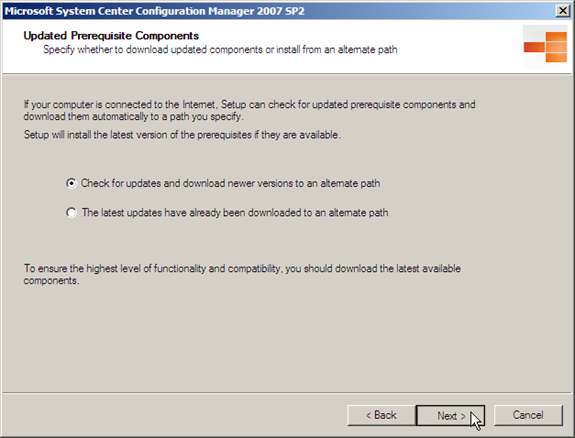
- On the Updated Prerequisite Components page, select Check for updates and download newer versions to an alternate path, and then click Next.
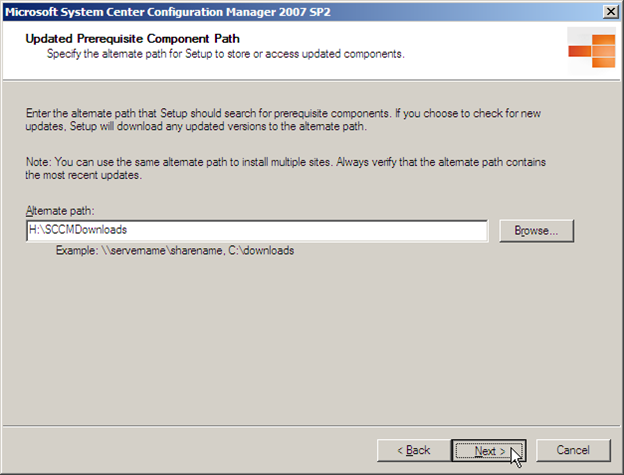
- On the Updated Prerequisite Component Path page, provide the path to the updates that was provided for the initial install of ConfigMgr (H:\SCCMDownloads in this guide), and then click Next.
-
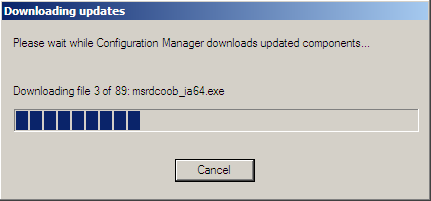
Wait patiently for the updated components to download. The process may take several minutes to complete. Once the process completes, click OK in the Success popup box.
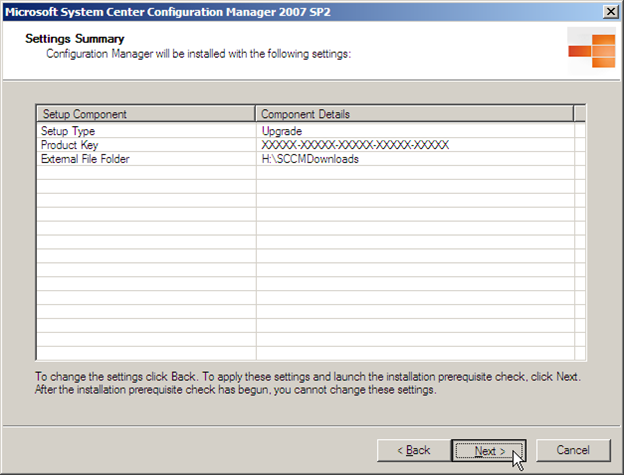
- On the Settings Summary page, review the settings, and then click Next.
- Wait for the prerequisite checker to finish its testing. Once the tests have completed, verify that the tests were successful, and then click Begin Install.
NOTE: If a test fails, take the recommended action to fix it.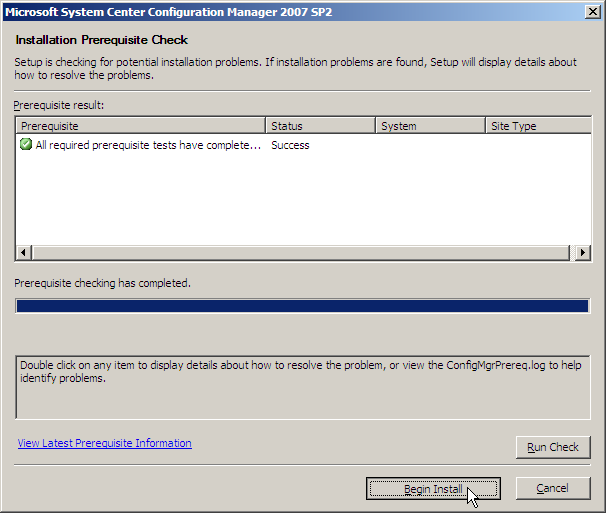
- Wait for the setup to complete. The process may take several minutes.

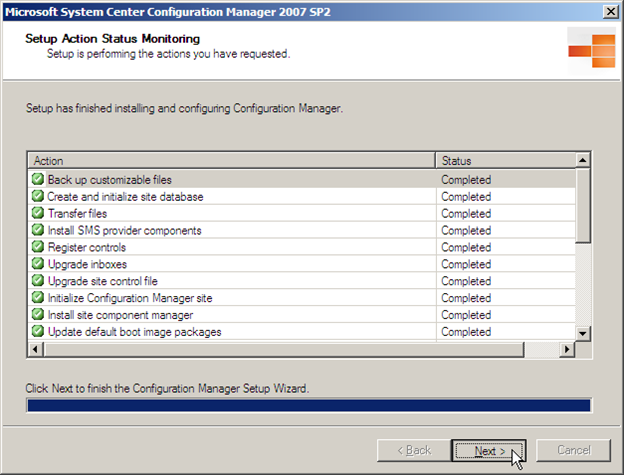
- Once the setup process is complete, verify that Status reports Completed on all of the items, and then click Next.
NOTE: Some items may report a status of Unknown. If the status is Unknown, there may not be a problem. If the status reports Failed, however, there was a problem with the install.
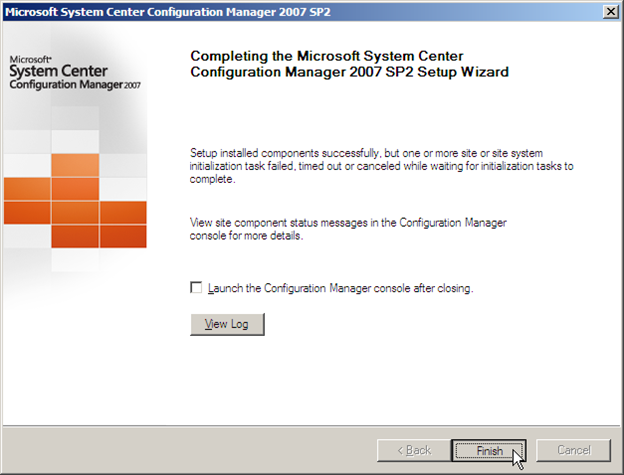
- Click on the View Log button to view the installation log file. Read through the log file to verify that the installation completed without issues, then close the log file and click Finish.
Install KB977384
- Download the KB977384 hotfix from the Microsoft web site.
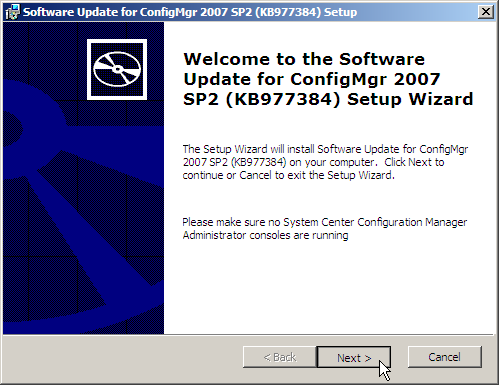
- Double-click SCCM2007-SP2-KB977384-ENU.msi to begin installing the hotfix.
- Click Next at the welcome page.
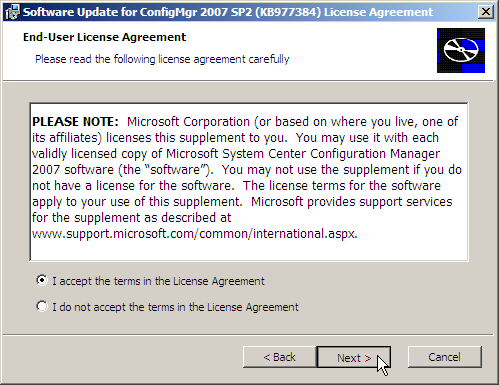
- On the End-User License Agreement page, select I accept the terms in the License Agreement if you agree to the terms, and then click Next.
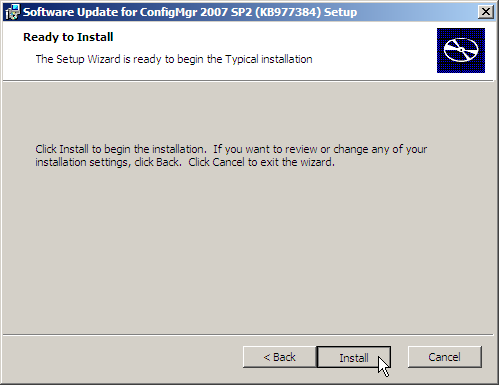
- On the Ready to Install page, click Install.
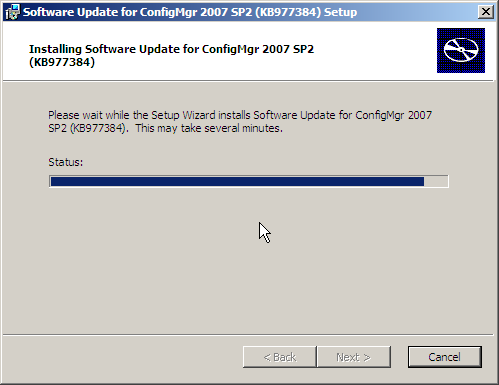
- The hotfix will begin installing.
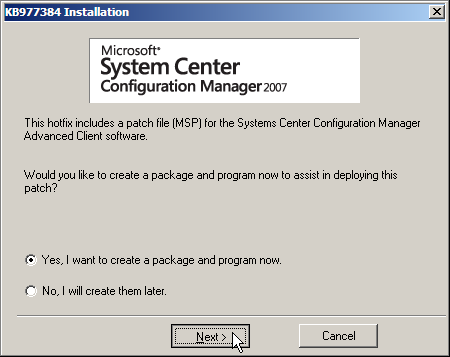
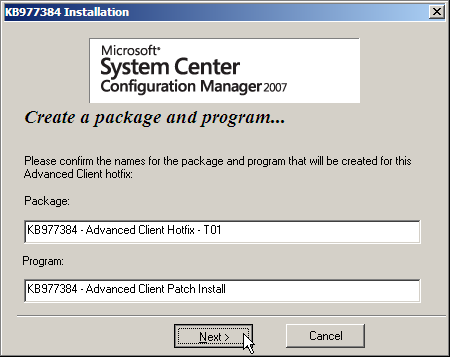
- During the install a popup window will open. Select Yes, I want to create a package and program now, and then click Next.
- Click Next on the Create a package and program page to keep the default settings.
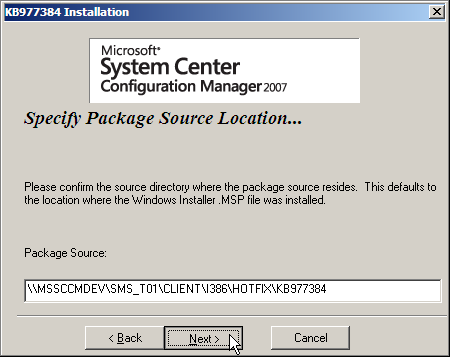
- On the Specify Package Source Location page, click Next to keep the default setting.
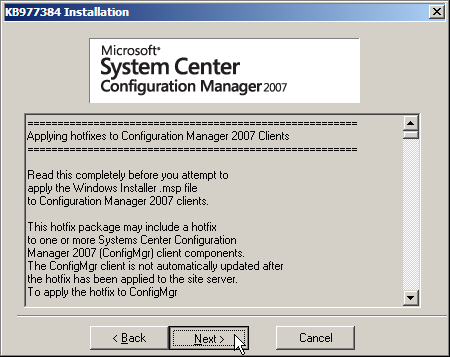
- Review the settings on the summary page, and then click Next.
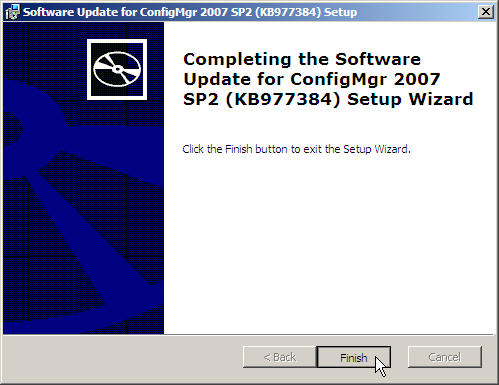
- The installation will resume. The process may take several minutes.
- Once the installation completes, click Finish.
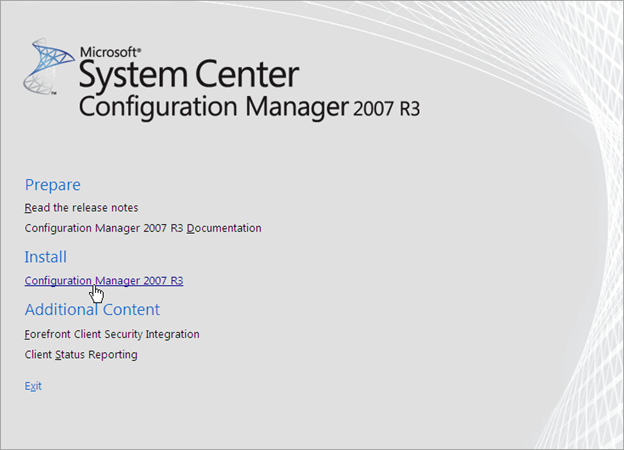
Install Configuration Manager 2007 R3
- Insert the ConfigMgr 2007 R3 DVD into the DVD ROM drive.
- Go to Start and click Computer. In the Computer window, double-click on your DVD ROM drive to open the Autorun menu.
- On the Autorun menu under Install, click on Configuration Manager 2007 R3.
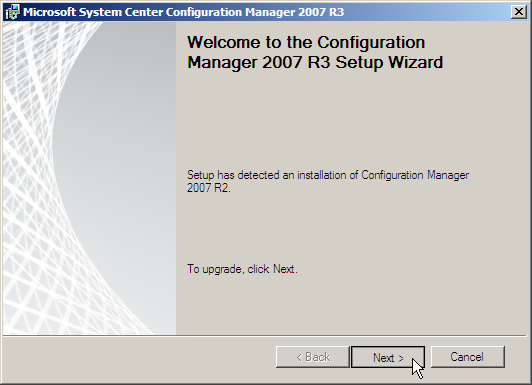
- Click Next to begin the upgrade.
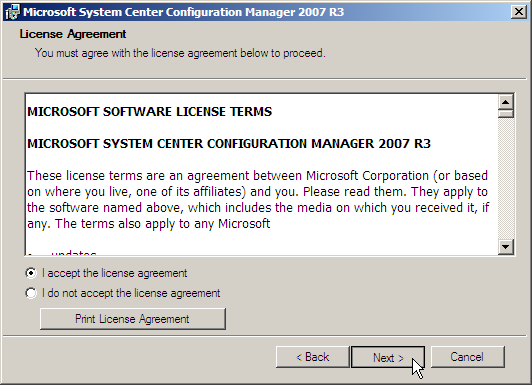
- On the License Agreement page, select I accept the license agreement if you accept the terms, and then click Next.
- On the Registration Information page, provide a Name, Organization, and 25-Digit
Product Key, and then click Next.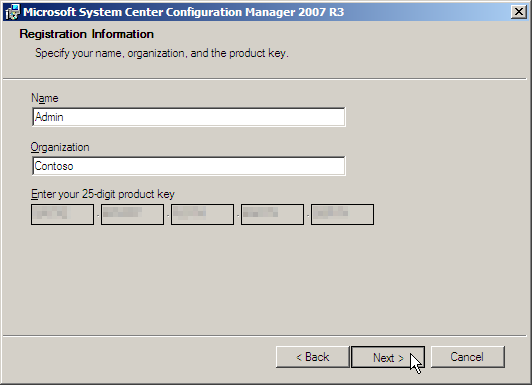
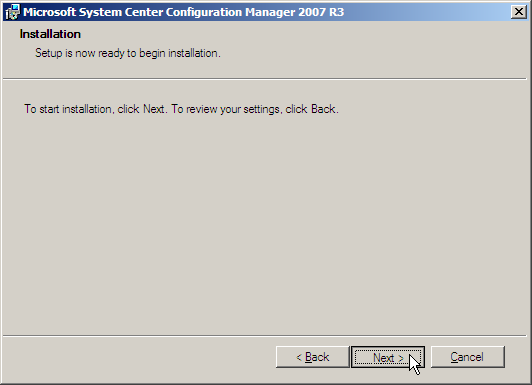
- On the Installation page click Next to begin the install.
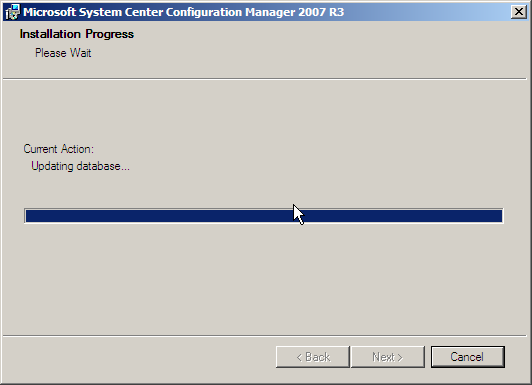
- Wait for the installation process to complete. The process may take several minutes.
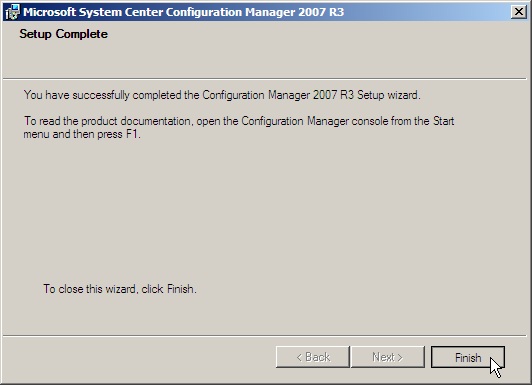
- Once the install process completes, click on Finish on the Setup Complete page.
Next in Part 10: ConfigMgr Admin Group Rights Assignment