In Part 1 of this series we installed IIS.
In Part 2 we installed and configured WebDAV.
In Part 3 we installed BITS and Remote Differential Compression.
In Part 4 we created a ConfigMgr administrator group and installed and configured SQL Server 2008.
In Part 5 we extended the Active Directory schema and created/configured the System Management container.
In Part 6 we installed Report Viewer 2008.
In Part 7 we installed WSUS Server with Admin Console.
This part of the guide will walk you through the installation process of ConfigMgr 2007 Service Pack 1.
- Log into the server that ConfigMgr will be installed on using the sccmadmin account mentioned in Part 4 of this guide. This account must have admin privileges on the ConfigMgr server.
- Insert the SCCM 2007 DVD into the DVD ROM drive.
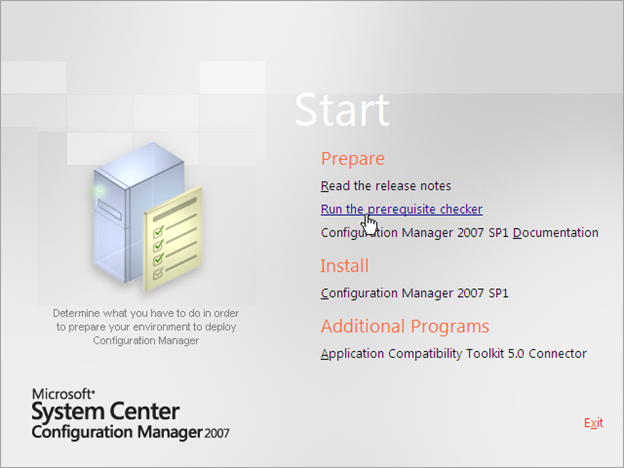
- Go to Start and click Computer. In the Computer window, double-click on your DVD ROM drive to open the Autorun menu.
- Click on Run the prerequisite checker on the Autorun menu under Prepare.
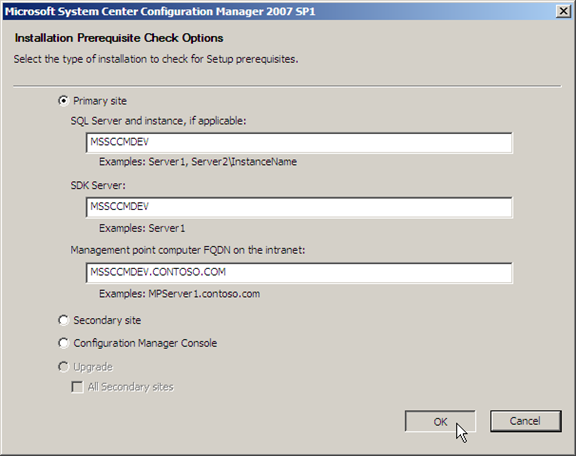
- In the prerequisite checker wizard, fill in the required information, and then click OK.
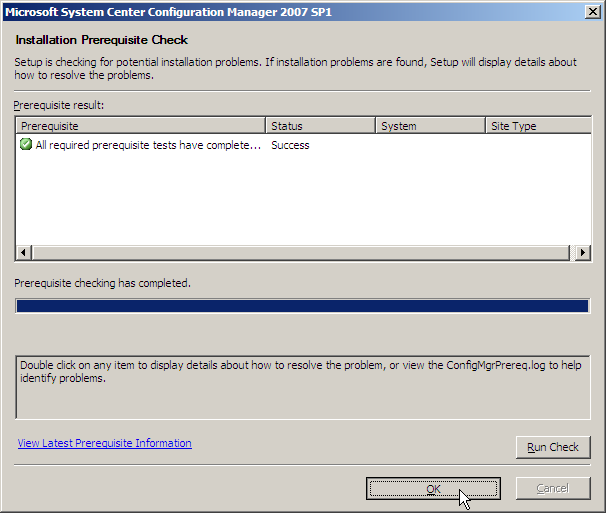
- Once the prerequisite checker has completed its tests, verify that there are no errors and click OK. If there are errors, take the recommended action to fix the issue.
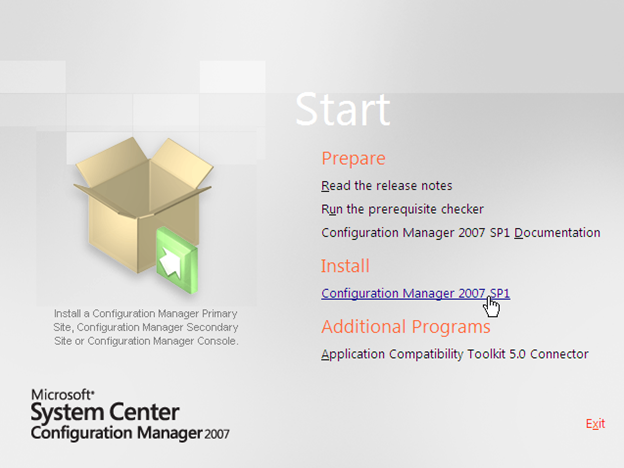
- Go to Start and click Computer. In the Computer window, double-click on your DVD ROM drive to open the Autorun menu.
- On the Autorun menu under Install, click on Configuration Manager 2007 SP1.
- At the welcome page of the installation wizard, click Next.
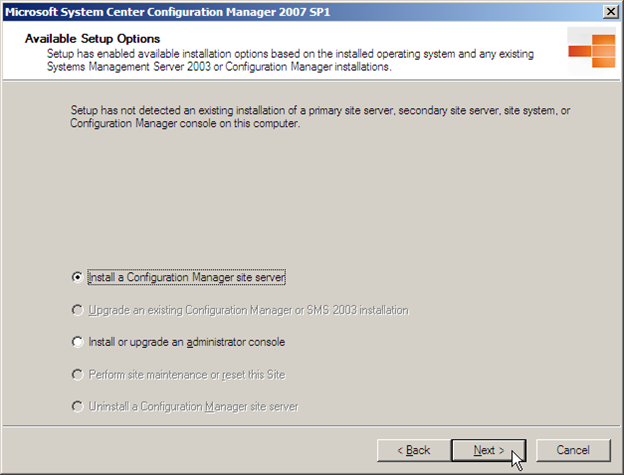
- On the Available Setup Options page, verify that Install a Configuration Manager site server is selected, and then click Next.
- On the Microsoft Software License Terms page, if you accept the terms, select I accept these license terms, and then click Next.
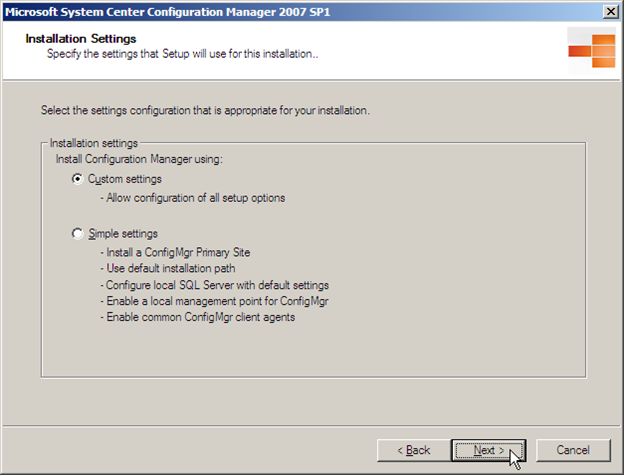
- On the Installation Settings page, select Custom settings and click Next.
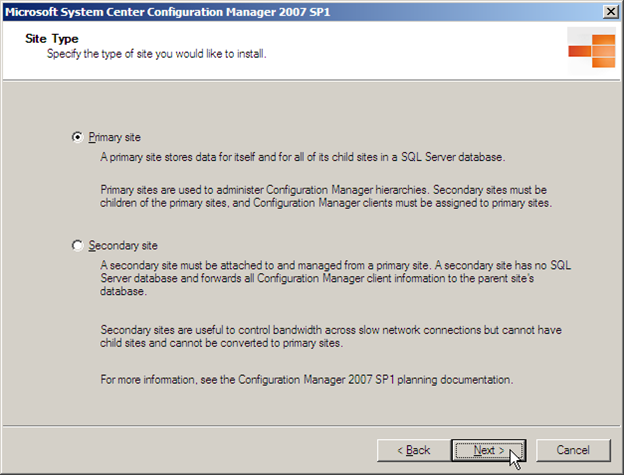
- On the Site Type page, select Primary site and click Next.
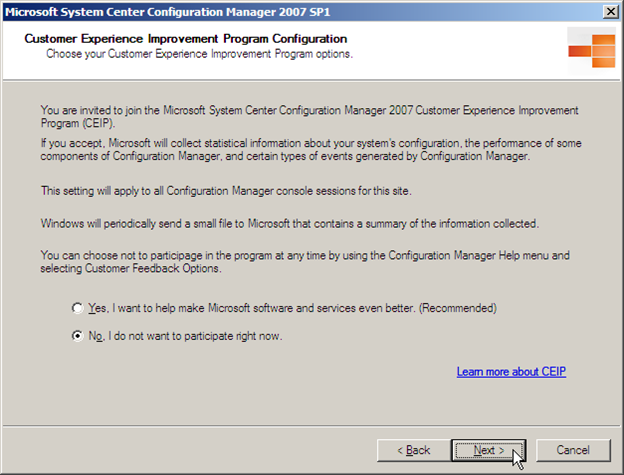
- On the Customer Experience Improvement Program Configuration page, choose if you want join the customer experience improvement program or not, and then click Next.
-
On the Product Key page, enter your product key and click Next.
-
On the Destination Folder page, leave the default path or optionally change the path to a custom location, and then click Next. NOTE: Change C: to the drive letter that you want ConfigMgr installed on.

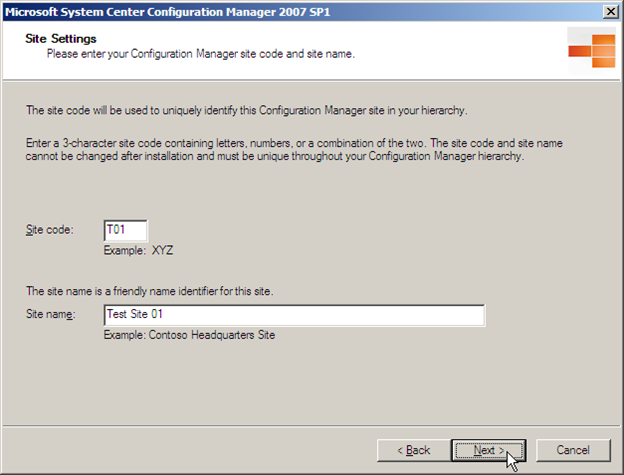
- On the Site Settings page, set a site code and site name for your site server. The site code must be unique and can only be 3 characters long and only numbers and letters and cannot contain special characters. The site name can be used as a description of the site server. Once you are done, click Next.
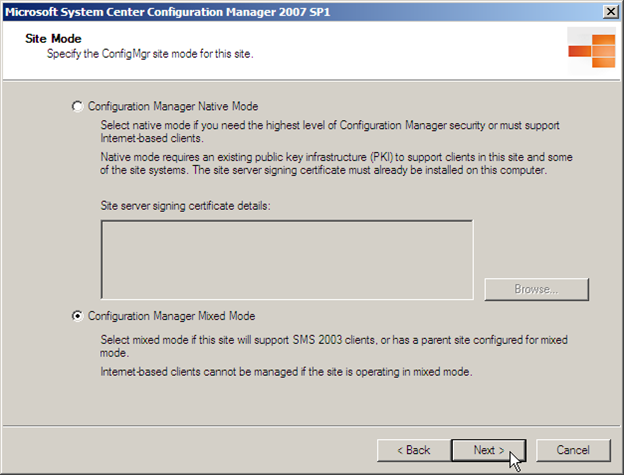
- On the Site Mode page, select Configuration Manager Mixed Mode, and then click Next.
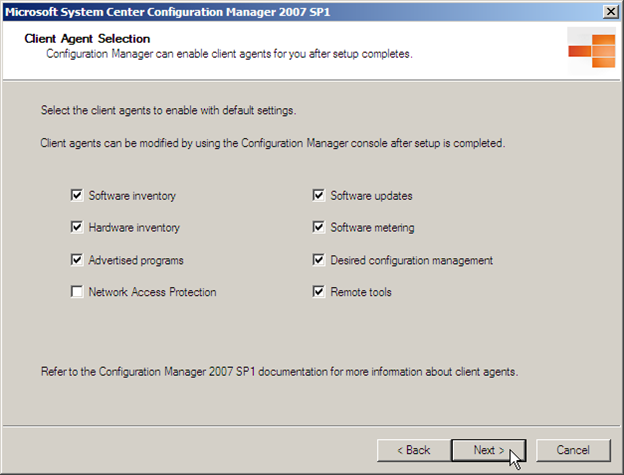
- On the Client Agent Selection page, click Next.
NOTE: More client agents can be added later if required.
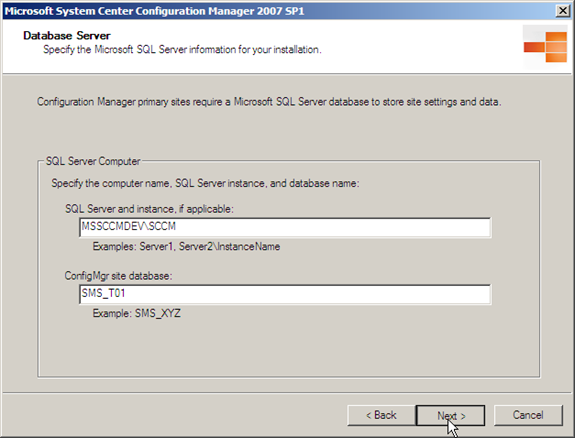
- On the Database Server page, provide the database server and instance that was created previously when you installed SQL Server 2008. Also provide a name for the ConfigMgr site database which will be created in that instance. A database name suggestion should pre-populate the input box. Once you are done, click Next.
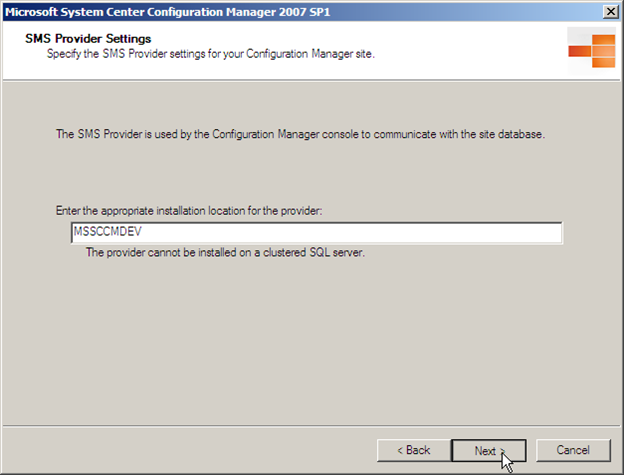
- On the SMS Provider Settings page, enter the name of the SMS Provider machine, and then click Next.
NOTE: In this guide the SMS Provider will also be MSSCCMDEV. Enter the name of your server that will be the SMS Provider instead.
- On the Management point page, select Install a management point, leave the default value in the text input box, and then click Next.

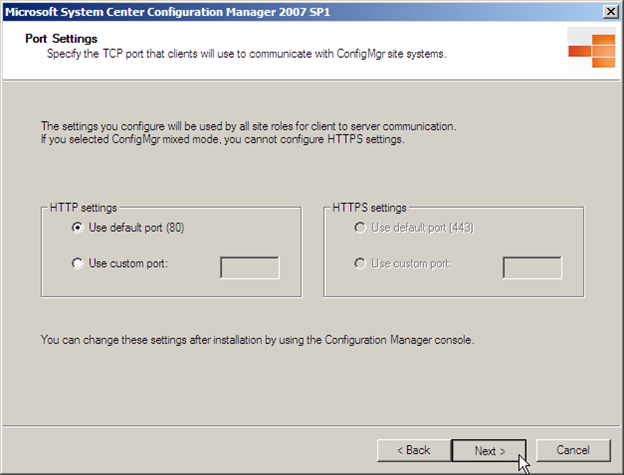
- On the Port Settings page, leave the default values and click Next.
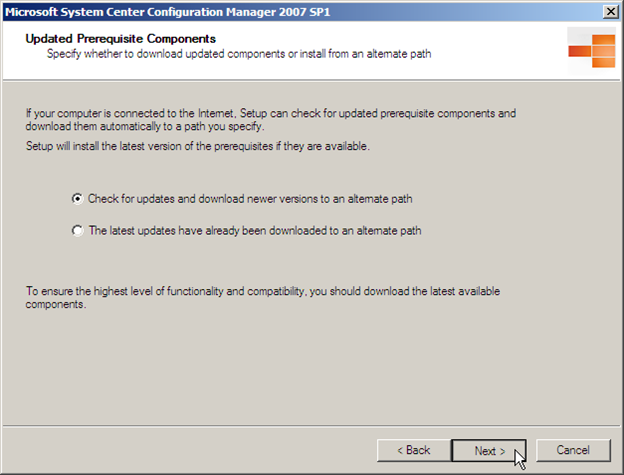
- On the Updated Prerequisite Components page, leave the default selection and click Next.
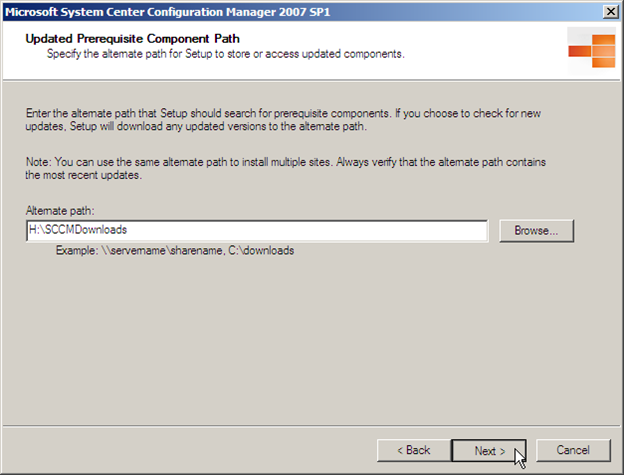
- On the Updated Prerequisite Component Path page, provide a path for the updates to be downloaded to, and then click Next.
NOTE: The folder must be created manually before clicking Next. Change H: to the appropriate drive letter.
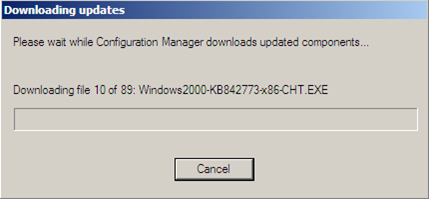
- Wait for the updated prerequisite components to download. This process may take several minutes.
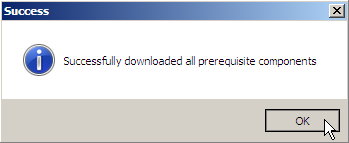
- When the downloading process has completed a Success popup window will appear. Click OK.
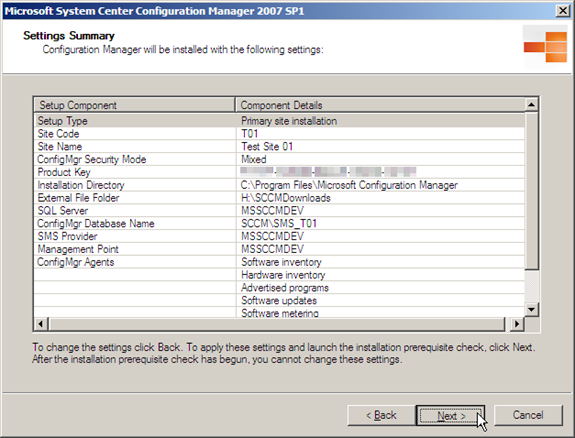
- On the Settings Summary page, review your settings and click Next.
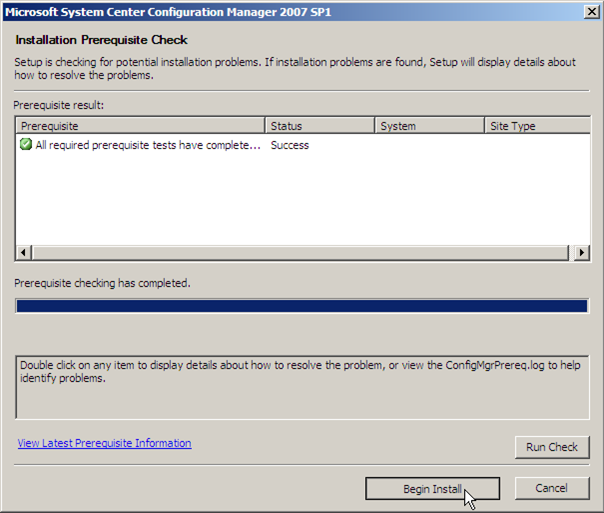
- On the Installation Prerequisite Check page, verify that there are no errors and click Begin Install. If there are errors, take the recommended action to fix the issue.
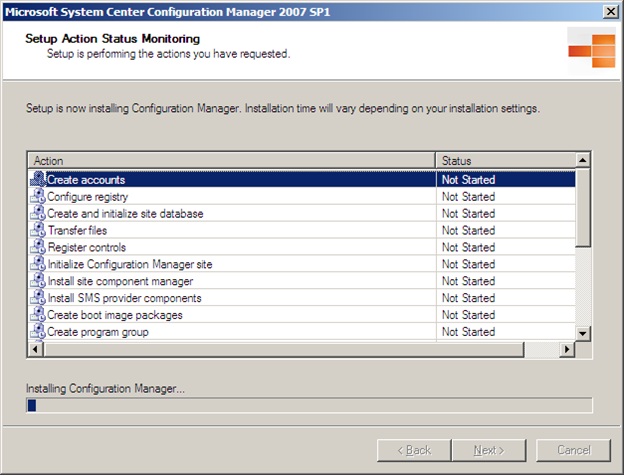
- On the Setup Action Status Monitoring page, wait for the installation to complete. The process may take several minutes to complete.
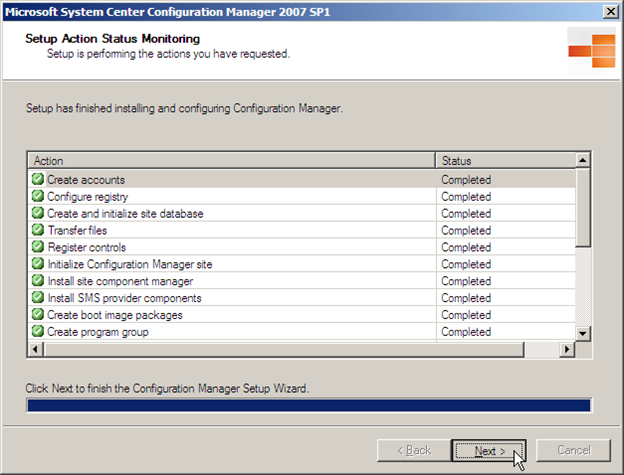
- Once the setup process is complete, verify that Status reports Completed on all of the items, and then click Next.
NOTE: Some items may report a status of Unknown. If the status is Unknown, there may not be a problem. If the status reports Failed, however, there was a problem with the install.
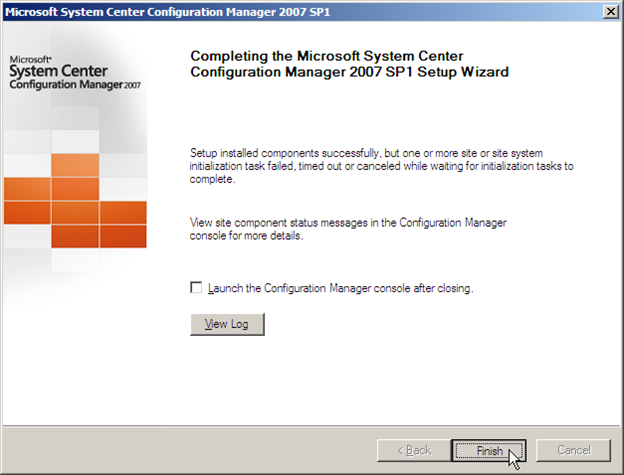
- Click on the View Log button to view the installation log file. Read through the log file to verify that the installation completed without issues, then close the log file and click Finish.
Next in Part 9: Installing the ConfigMgr 2007 R3 update