OK, bear with me because this is going to be a long one. I think this stuff is pretty cool, and I tried to pack as much useful info into this article as I could.
If you’ve used AI to write PowerShell, you’ve probably experienced the same thing I have.
- It gives you something that looks right, you run it, and it half works.
- Then you prompt it to fix a few things and add a couple new features.
- It proceeds to break most of the code it previously wrote.
- Then you spend the next hour fixing hallucinated methods, calls to non-existent cmdlets, edge cases, and messed up syntax.
However, that’s still you doing most of the work and doing quite a lot of handholding.
I’ve been experimenting with Ralph and it approaches the problem differently.
Instead of asking AI to write code directly, it puts the AI through a development process.
I ended up forking it and adapting it for PowerShell.
Why It’s Called Ralph
The name comes from Ralph Wiggum, who’s a character from The Simpsons. And once you understand the character, the name makes perfect sense.
Ralph says random nonsense and is usually confused, but every now and then, he says something unexpectedly correct.
That’s a pretty good description of AI code generation.
You ask for a PowerShell tool, it calls cmdlets that don’t exist, uses fake parameters, makes up object properties etc… Then somehow it still builds most of what you needed.
That’s Ralph.
The idea behind the project is simple.
Don’t trust Ralph.
Give Ralph supervision and a defined process that will ensure his success.
Why This Matters for PowerShell
A lot of PowerShell work skips normal software development.
Most scripts start like this:
I just need something quick.
Then six months later:
- other admins use it
- service desk depends on it
- automation calls it
- nobody wants to change it
At that point it isn’t a script anymore. It’s software.
But most of us never apply software development practices to PowerShell.
The Development Process Ralph Follows
This is the part many PowerShell people haven’t seen.
Ralph doesn’t just generate code. It follows a workflow similar to how software development teams build applications.
1. Requirements
Before anything gets written, you define what the tool needs to do.
Not a vague prompt, but actual requirements.
What problem are you solving?
Who is the user for this particular feature?
What are the success criteria?
2. PRD
Product Requirements Document.
This becomes the project blueprint and gives the AI context before coding starts.
Without this, the AI fills in missing details on its own. That’s where it can get creative in all the wrong ways.
3. Task Planning
Ralph breaks the work into smaller implementation tasks.
Instead of one giant prompt, it builds the script one piece at a time.
That makes validation possible.
It also naturally pushes the generated code toward better structure.
When features are broken into smaller tasks, the code tends to come out in smaller functions with clearer responsibilities.
That lines up surprisingly well with the SOLID design principles, even though Ralph isn’t explicitly trying to adhere to them.
If you haven’t read about SOLID before, it’s worth understanding because a lot of the same ideas apply across programming/scripting languages:
4. Build
The code gets generated by Ralph.
No more than a single user story gets implemented in a single iteration.
5. Testing
Unit tests get written and executed.
That’s the important part because generated code is only useful if you can verify it.
Not only does this confirm that new code is working, but that existing code isn’t borked in the process.
6. Correction
If tests fail, Ralph fixes the code and reruns validation.
That loop makes all the difference.
7. Commit
The final code gets committed to a branch in a local git repository.
8. Document
Ralph documents findings, gotchas, and patterns for future iterations.
What Unit Tests Are
A lot of PowerShell admins haven’t worked with unit tests.
That’s normal. They’re common in software development, but not in scripting.
A unit test checks one specific part of your code automatically.
Instead of launching the whole script and putting it through its paces, you test individual functions.
That makes it easier to catch problems early.
For example, if you write a function to get a ConfigMgr site code, you can test whether:
- it returns a value
- the value matches expected format
- it handles errors correctly
That tells you the function works before the full app even runs.
What Pester Is
Pester is the standard test framework for PowerShell.
It lets you define expected outcomes and automatically validate your code.
A simple example:
Describe "Get-SiteCode" {

    It "Returns a site code" {

        $Result = Get-SiteCode
        $Result | Should -Not -BeNullOrEmpty

    }

}
That test runs the function and checks that it returned something.
Simple. But extremely useful.
Why Pester Matters with AI
AI-generated PowerShell often looks correct.
It might even run and can still be wrong because the syntax works, but the logic doesn’t.
Without testing, you often won’t catch that until later.
That’s why I added Pester support to my fork of Ralph.
Why I Forked Ralph
I wanted something to help me build tools faster.
Mainly for:
- ConfigMgr
- Intune
- internal admin apps
- support tools
The goals were simple:
- less AI back-and-forth
- better PowerShell output
- built-in validation
- faster GUI generation
- something usable for real admin work
The original Ralph is excellent, but it’s aimed at general software development.
PowerShell has different requirements. Especially if you’re building Windows tools. So I adapted it.
You can find my fork here:
While you’re there, please show your support by clicking the star button in the top-right corner of the screen! This also saves the repo to your personal starred list, making it easy to find later.

What Changed in My Fork
I adjusted the workflow to better support PowerShell development.
Changes include:
- Windows-first execution
- Prompts tuned for PowerShell
- WPF GUI generation
- Pester integration
- PowerShell project structure
- Script validation
Why the Example PRD Is Simple
The included prd.json.example is intentionally basic.
It won’t generate something particularly useful, but that was deliberate.
The goal was to keep the sample small enough to:
- reduce token generation
- shorten iteration time
- demo the workflow with GUI generation
Step-by-Step Setup
1. Create your project folder
First, create a working folder for your project.
I usually keep mine under C:\Dev, so for this example I created:
C:\Dev\ralph-exampleInside that, I create a scripts folder and clone my fork there:
cd C:\Dev\ralph-example
mkdir scripts
cd scripts

git clone https://github.com/jarldt/posh-ralph.git
cd .\posh-ralph
That keeps the Ralph files separated from whatever project you’re building, which makes the generated output easier to manage later.
2. Open PowerShell
PowerShell 7 is recommended.
Launch it via the Terminal app or from the Visual Studio Code terminal.
3. Copy the PRD example
Copy-Item .\prd.json.example .\prd.json4. Edit the PRD
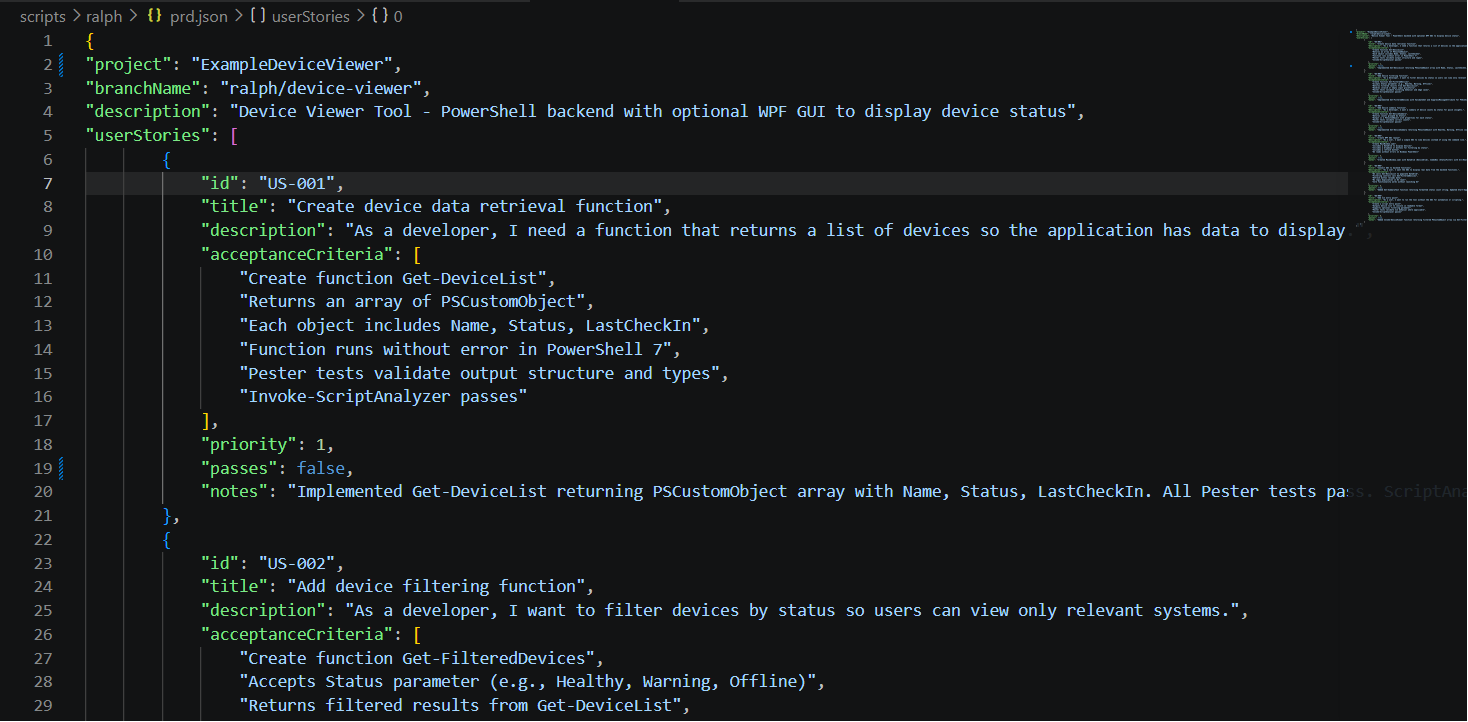
Open prd.json.
This defines each feature Ralph needs to implement.
A good PRD gives better results than prompts.
Think of it like handing a junior developer actual requirements instead of vague instructions.
See the following guide that goes over the anatomy of a user story:
Anatomy of a User Story
5. Run posh-ralph
Follow the README.md setup instructions.
Then run it directly from PowerShell.
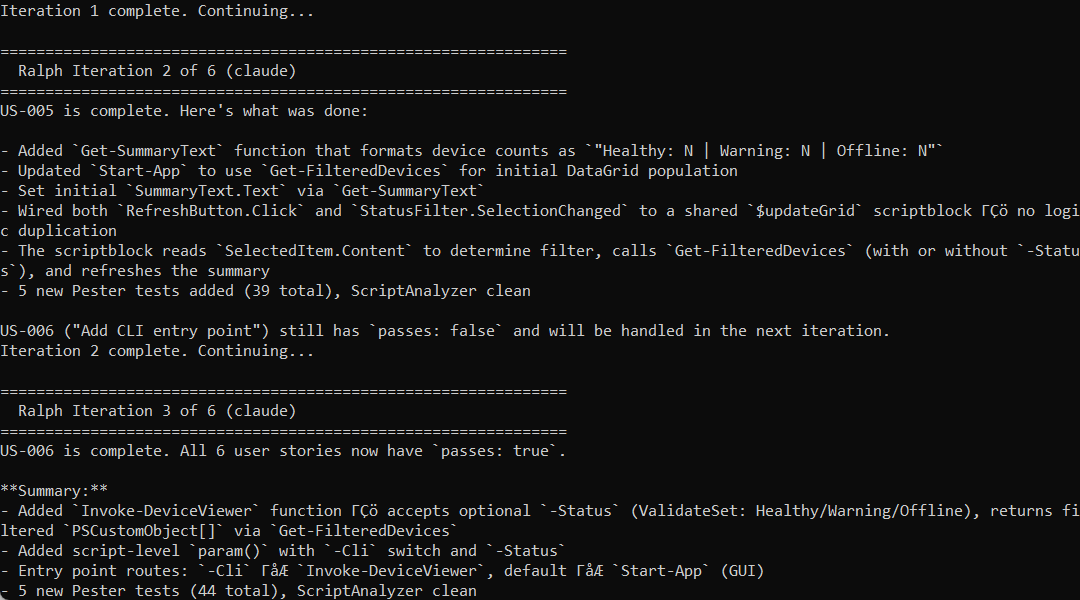
Ralph will stop when all user stories have been implemented successfully, when max iterations is reached, or if you hit your LLM rate limit.
If Ralph reaches max iterations without finishing all user stories, he’ll pick up where he left off on next run.
The included prd.json.example typically completes in 6 iterations with Claude.
The max iterations per execution can be controlled via the -MaxIterations parameter.
./scripts/ralph/ralph.ps1 -Tool claude -MaxIterations 10
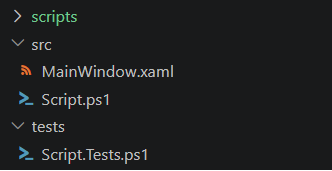
Where Ralph Puts Everything
Once Ralph finishes, you’ll end up with src and tests folders at the root of your project folder that contains the generated script, xaml file, and a script for the unit tests.
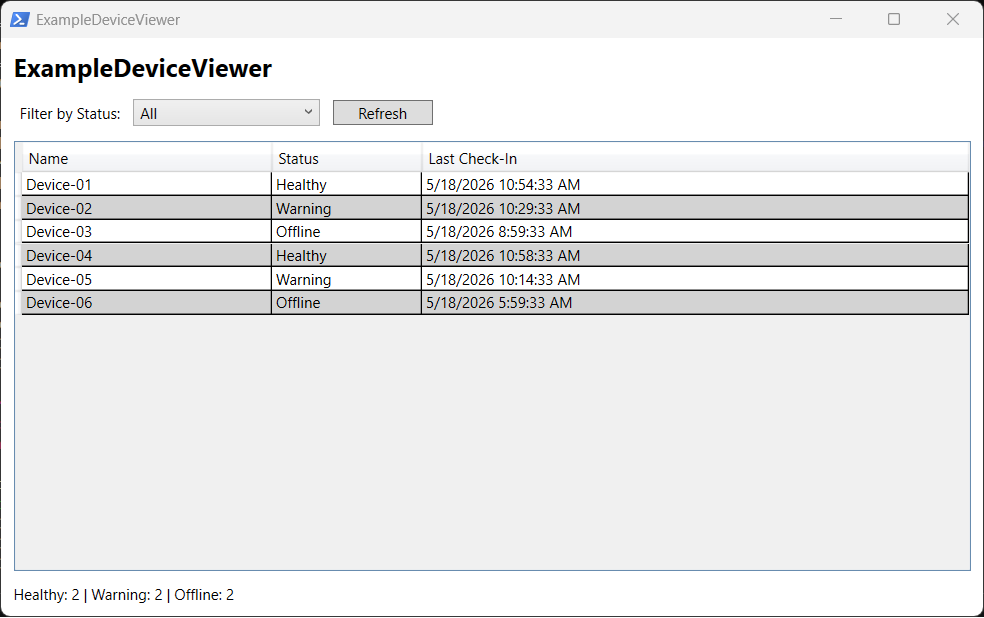
Running the Generated Script
Once the build completes, just open the generated script in Visual Studio Code or run it directly from PowerShell.
For example:
.\src\Script.ps1If your PRD requested a GUI, Ralph will generate the associated WPF components.
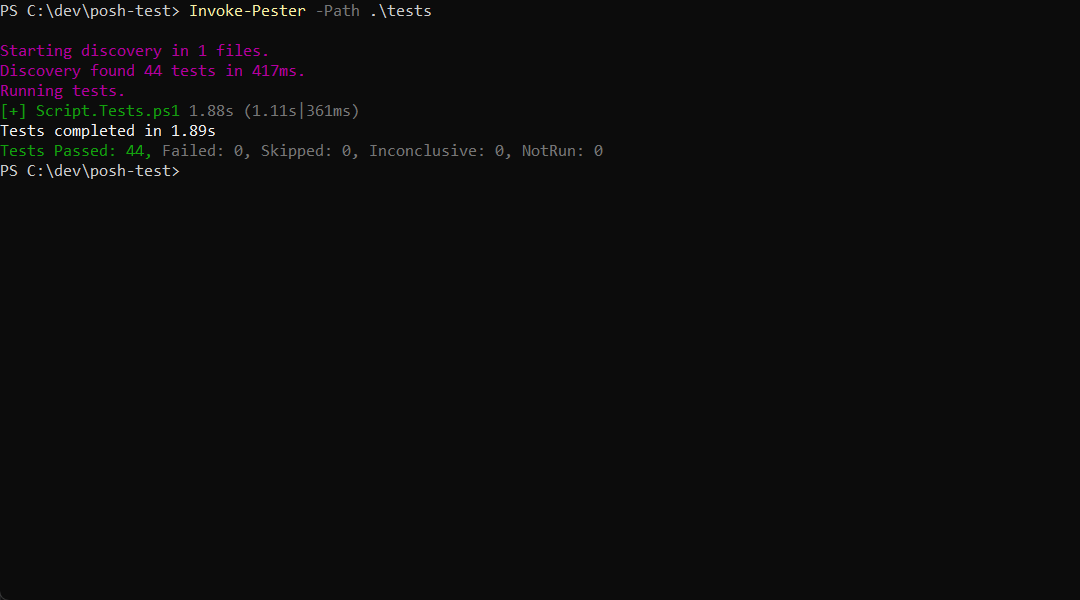
Reviewing the Tests
Ralph also generates unit tests alongside the script.
That means you can rerun them yourself any time after making changes.
Example:
Invoke-Pester -Path .\testsThat’s important because, if you’re like me, you’ll probably customize the generated code yourself at times.
The tests give you a quick way to verify you didn’t break something while tweaking it.
If you implement new functions yourself, I’d suggest that you try writing unit tests for them at least once. Otherwise, you can prompt AI to write them for you. IMO LLMs are really good at writing unit tests.
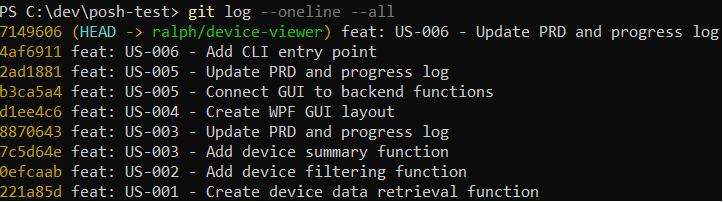
Reviewing the Git Commit Logs
Ralph commits the final validated code to a branch in a local git repository.
The repository lives in your project folder under the .git folder.
You can view the git commit logs by running the git log command:
git log --oneline --allFor additional options, see the official git documentation:
Closing Thoughts
Ralph takes something that usually feels random and chaotic and puts it inside an actual software development process.
Once AI has requirements, task tracking, testing, validation, and source control around it, it starts feeling like something you can actually build with.
So here’s the question:
Would something like Ralph actually improve how you build PowerShell tools, or would you still prefer the traditional “just write the script” prompt approach?